
Lusk’s Koura XIII Jig Fly Tying Instructions

This is the revised pattern of my Koura fly.
Small Koura
Hook: Daiichi 4640 or 4647 #10
Thread: Black Uni 6/0
Bead: 3.5mm Black Tungsten Slotted
Body: Dark Brown Craft Fur Dubbing Brush
Claws: Dark Brown Marabou Blood Quills
Adhesive: Dave’s Flexament
Koura tied on a J Stockard 604 Jig Hook #8
Large Koura
Hook: J Stockard 604 #8
Thread: Black Uni 6/0
Bead: 4mm or 4.5 Black Tungsten Slotted
Body: Dark Brown Craft Fur Dubbing Brush
Claws: Dark Brown Extra Select Marabou
Adhesive: Dave’s Fleximent
Koura Pattern Steps
This is a fly that is easy to tie lop sided, because getting the claws right is harder than imagined. To precision tie the fly wet the Extra Select Marabou, slick it down and measure the claws with a ruler. As you can see I have a ruler attached to my tying bench, all part of my attempts to tie quickly and precisely.
Small Koura Claws 30mm
Large Koura Claws 35mm
Steps
- Fit slotted bead on jig hook, insert the hook into the vice and tie thread.
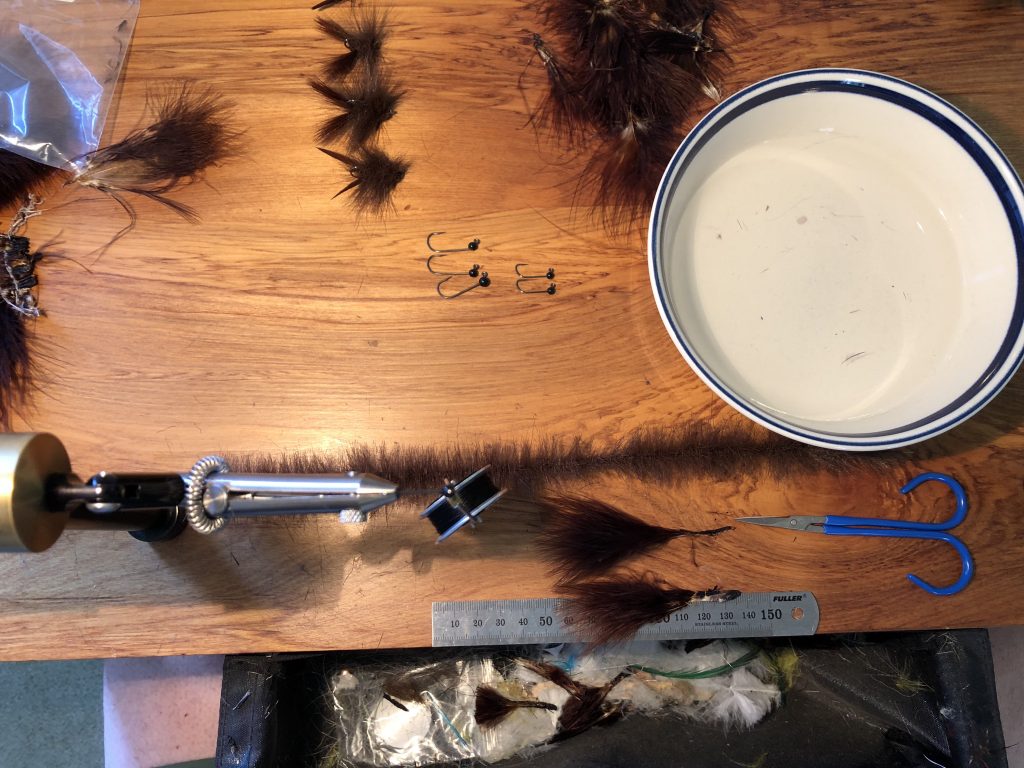
All the materials for a Koura Fly ready to tie. Note the bowl of water which is used for slicking down the claws to get the measurements right.
2. Build a thread dam to hold the bead in place.
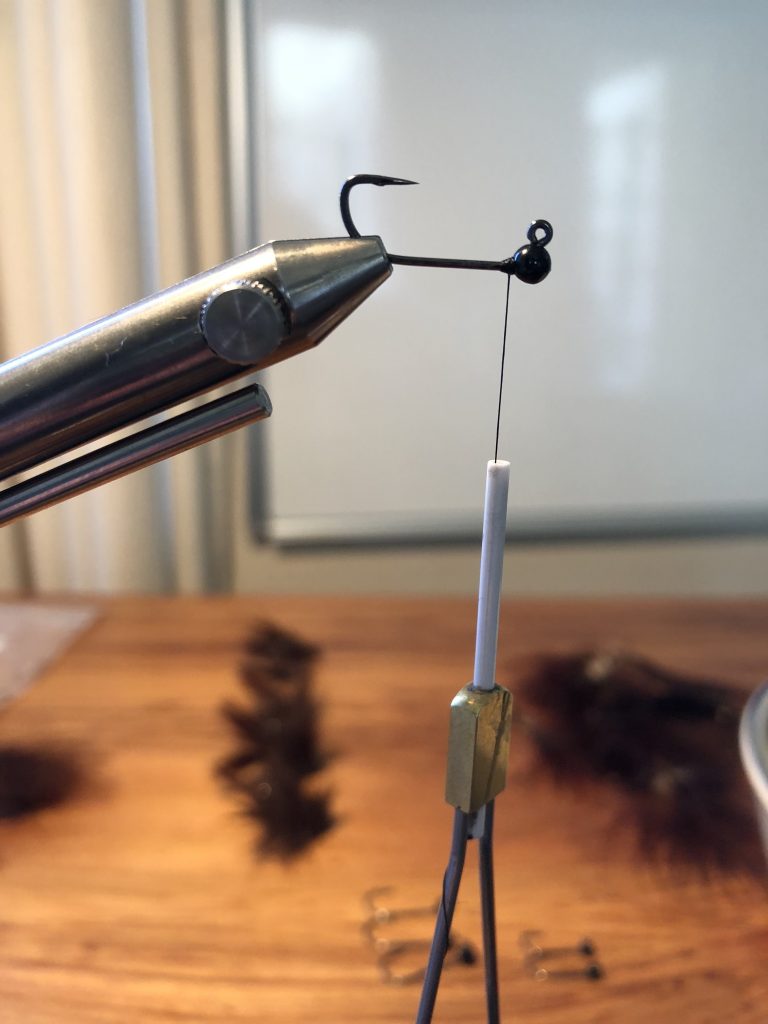
A small thread dam to stop the bead from slipping on the hook
3. Tie in the dubbing brush wrapping once or twice near the bend of the hook to build something that splays the claws.
Tie in the dubbing brush and take one wrap to splay the claws.
4. Slick down the Marabou for the claws with water and measure them, cutting at the right length for the fly.

Claws slicked down with water for easy measurement & tie in
5. Tie in the pre measured claws. Start with the ends of the claws just touching the bead for consistency.
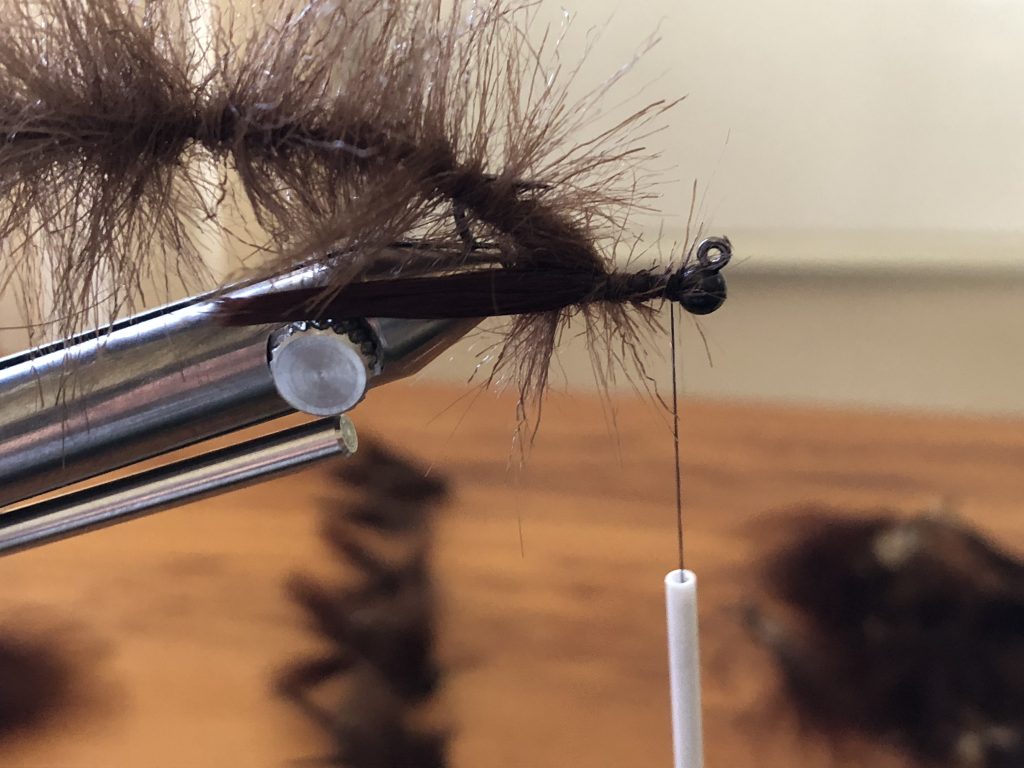
Tying in the first claw, with the marabou touching the bead
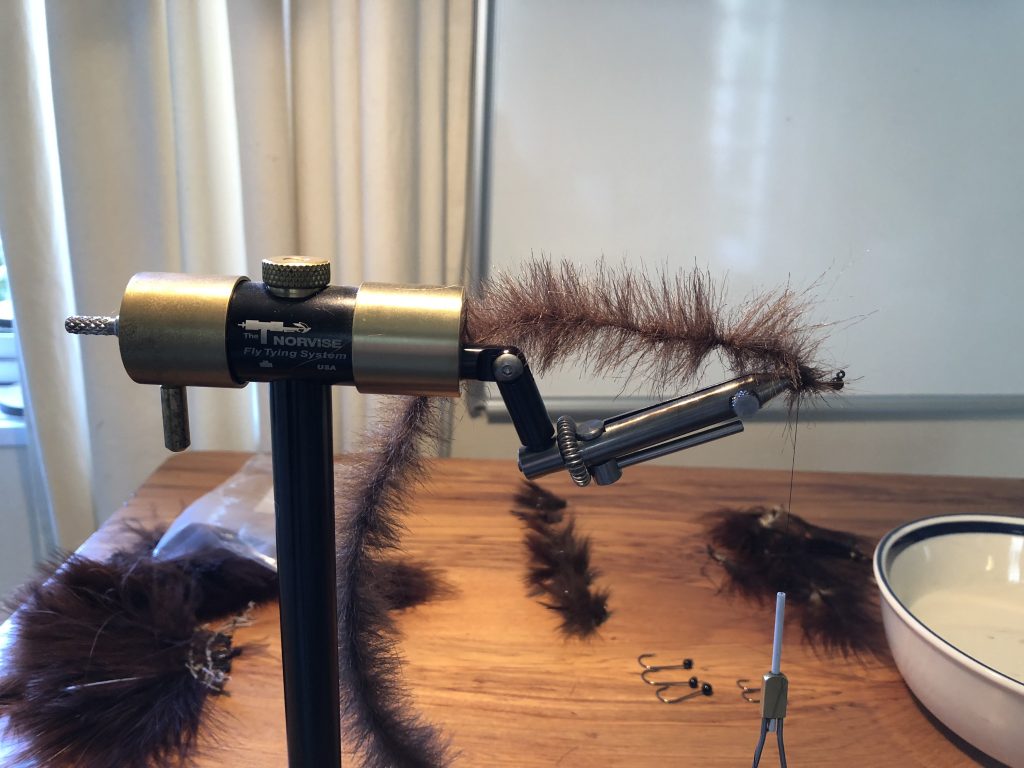
5. Wrap the dubbing brush over the claws and down the hook to the bead.
Wrap the dubbing brush forward to the bead.
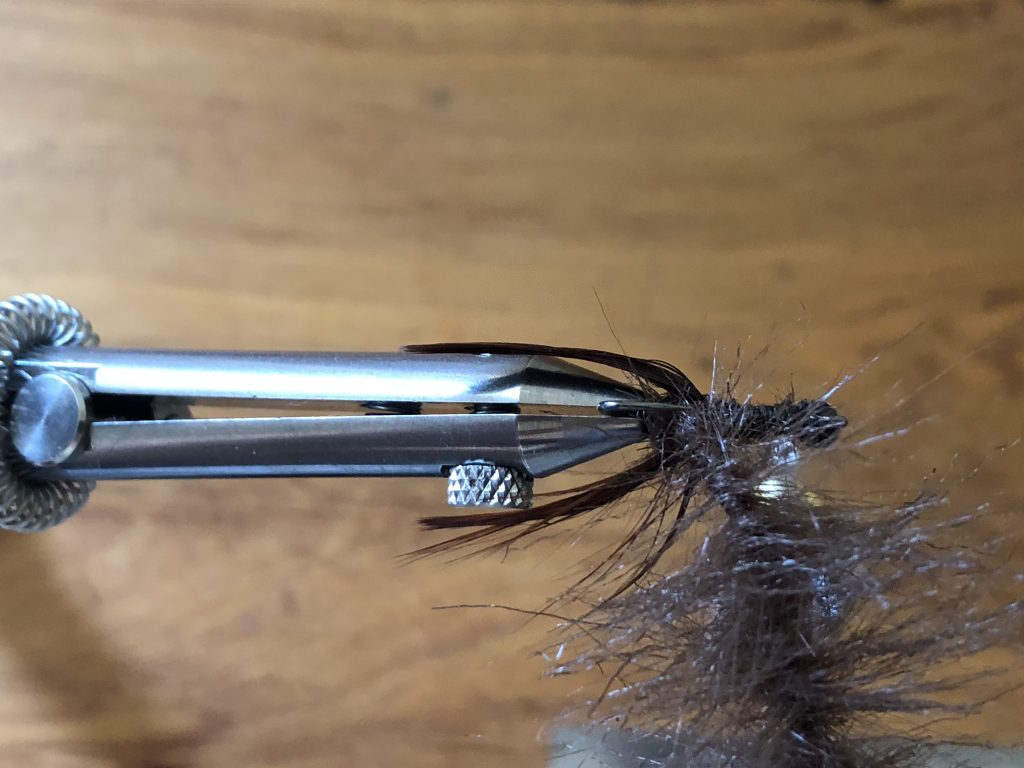
6. Tie off and glue with a flexible cement. I use Dave’s Flexament.
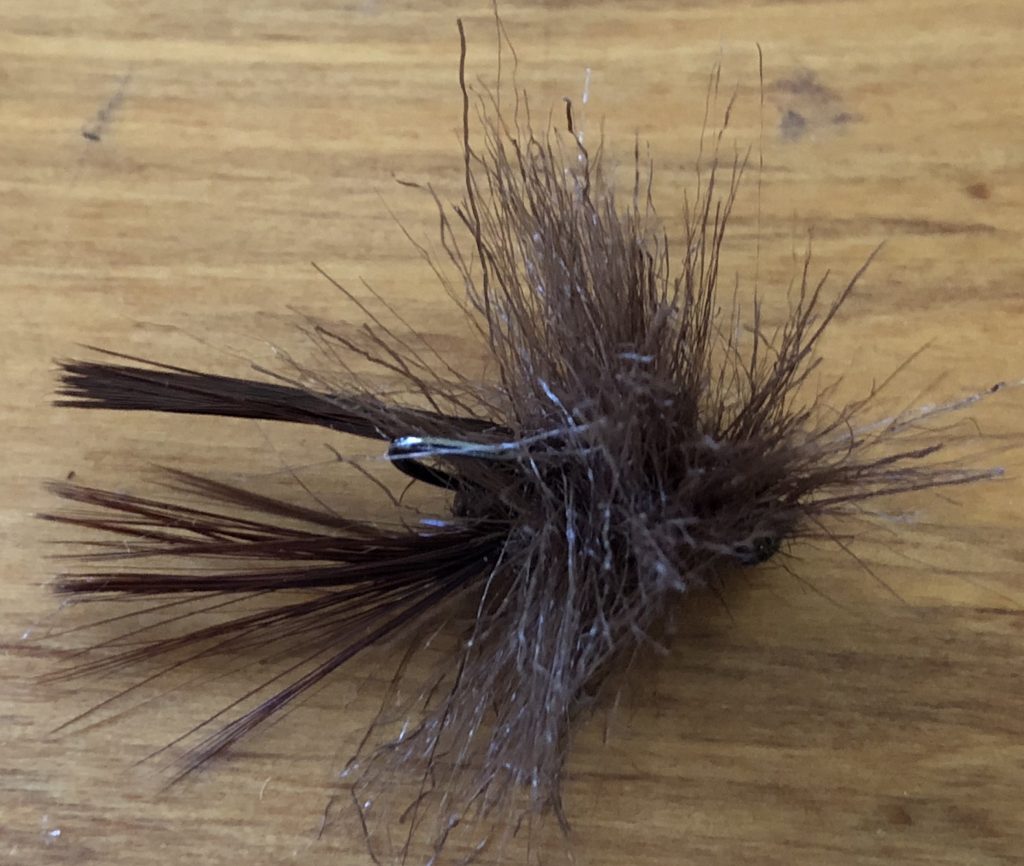
Koura fly before the underside is trimmed.
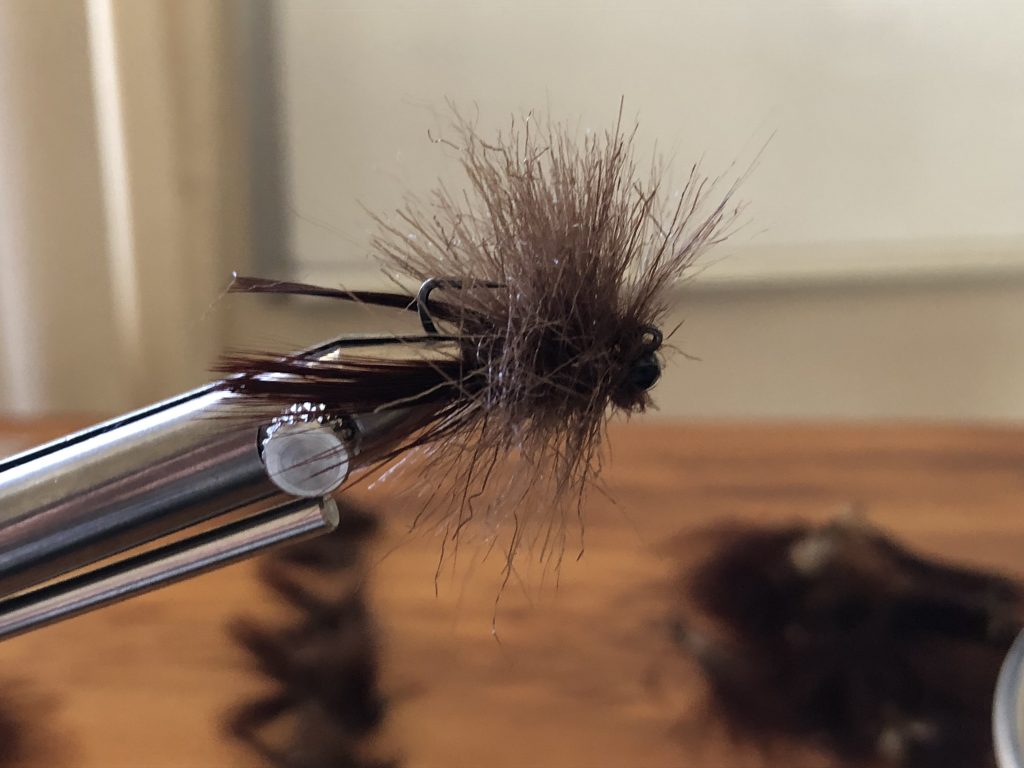
7.Trim the dubbing brush on the under side of the fly so it is flat and sits better. A fly that tilts to one side is not that realistic though the fish do not seem to have too much of a problem with taking it.
Koura fly with the underside roughly trimmed flat so it sits better on the bottom.
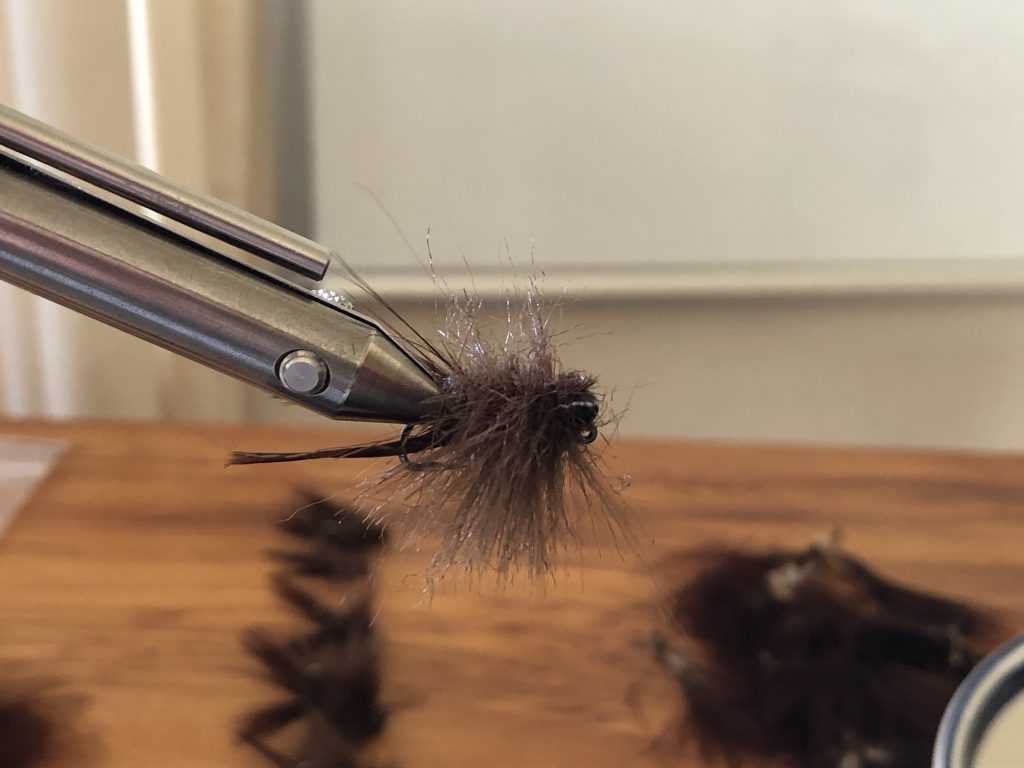
8. The final fly sitting nicely. Note the claws will dry and spread out.
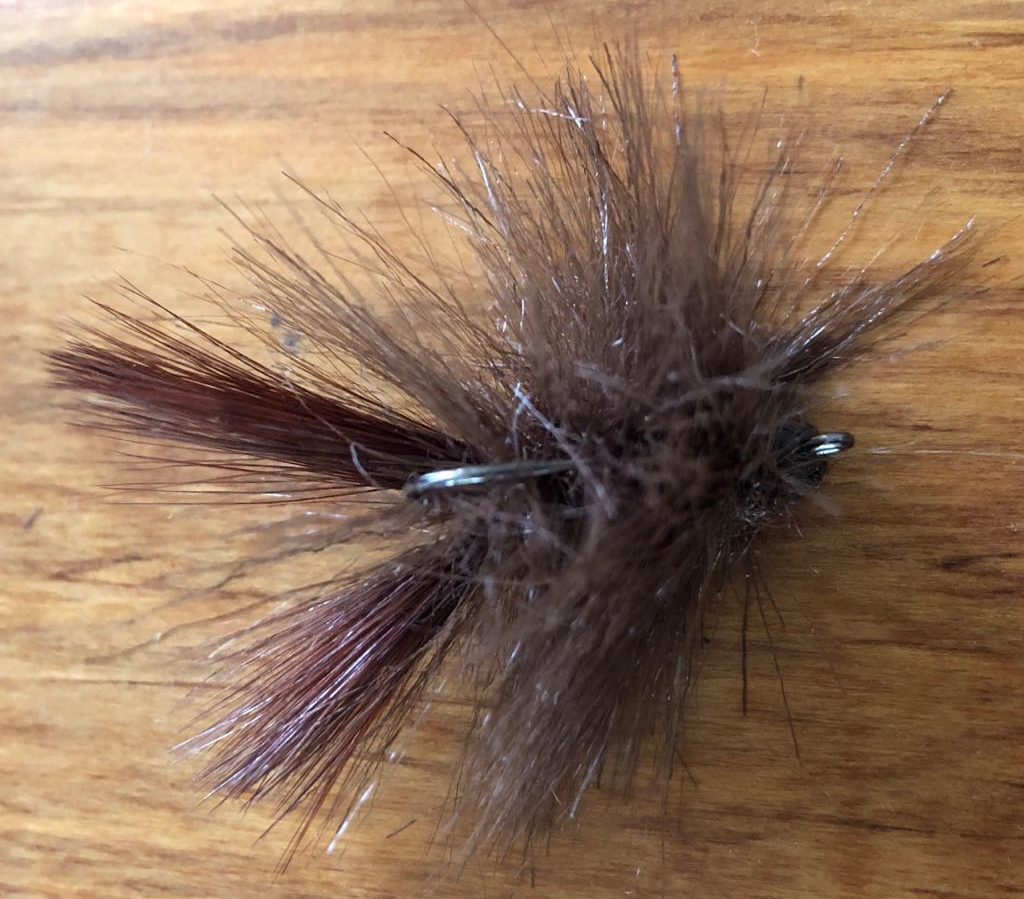
Lusk’s Koura tied on a Daiichi 4647 #10 with a 3.5mm black slotted tungsten bead.
I. Lusk’s Koura | II. Further Design Work | III. Trout & Flies for Similar Conditions | IV. Design Features for the Next Prototype | V. Rethinking the Koura Pattern | VI. Prototype 3, 4 & 5 | VII. A Fish Catching Fly | VIII. Further Design Work II | IX. Lusk’s Koura Tying Instructions | X. Fishing Lusk’s Koura | XI. The Best Pattern | XII. A Revised Pattern | XIII. A Jig Hook Koura