
Making a Dubbing Brush Table

I spent some time looking at different videos for making dubbing brushes, and different tools for making dubbing brushes.
I purchased a Nor-Vise Dubbing Brush Table, and made a dubbing brush table out of cardboard as in the video below.
Neither of these options really worked for me. The Nor-Vise Dubbing Brush Table is effective but short, so the brushes are short. I prefer tying quickly so I want to make less and longer dubbing brushes. The Nor-Vise product not long enough to allow me to tie quickly. This was the biggest reason I kept looking for other ideas.
In the Riffle’s video uses a cardboard dubbing brush table. This looked like a pretty handy solution so I made one up. I included lines on the table so I could be precise with the size of the brush. This worked pretty well, but I was not able to trim the craft fur I was using for the brush as easily as I would have liked.
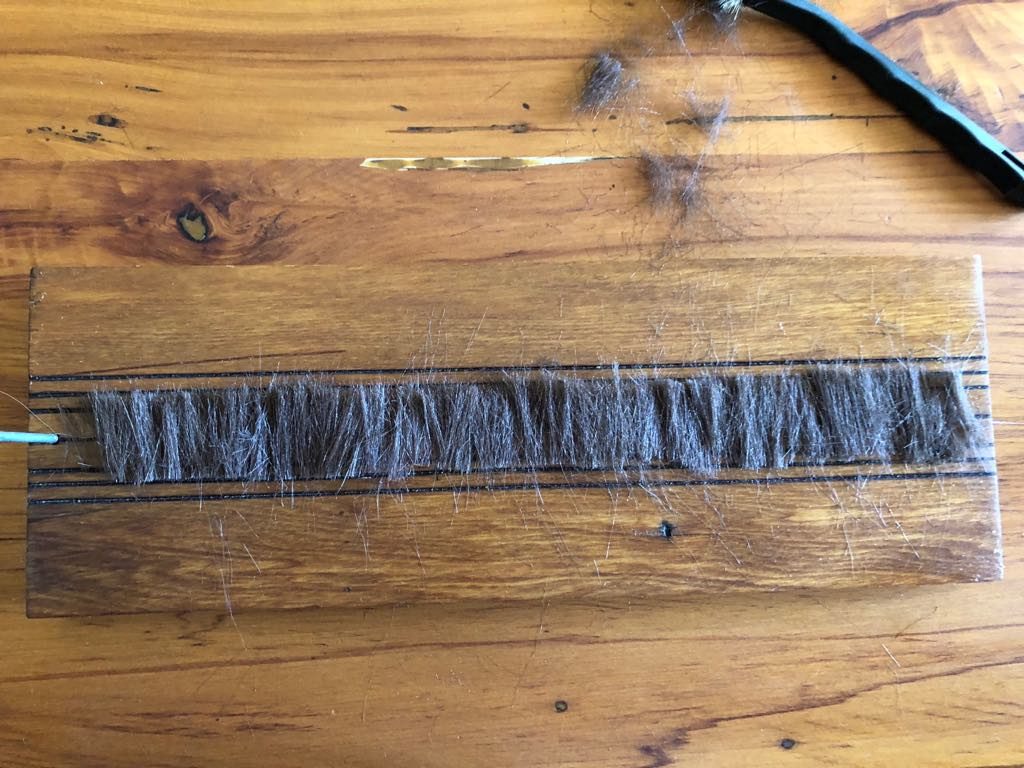
My dubbing brush table is a small piece of Rimu, a native New Zealand wood. I have scored lines into the wood at the 10, 15, 20mm mark on both sides of the centre line. These lines are several mm deep, and then marked with a black flowing ink pen.
The purpose of the scored lines is to allow me to run my tying scissors along the line and trim the material to the right length. By having a slight score for the line I can get the tips of the scissors in the line which allows for much more precise trimming with a lot less effort.